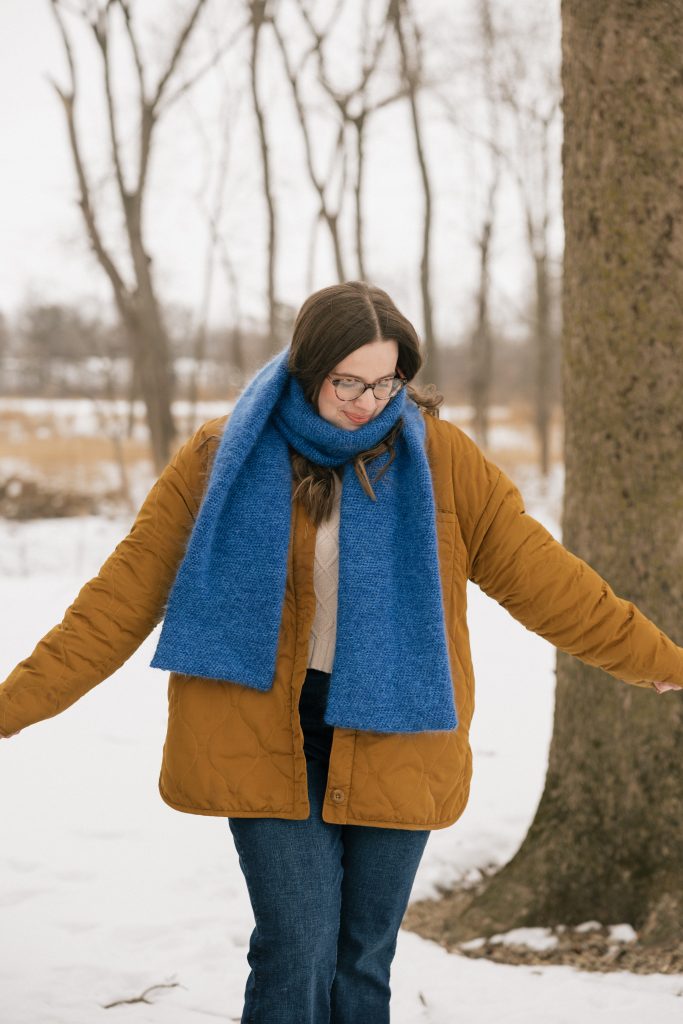
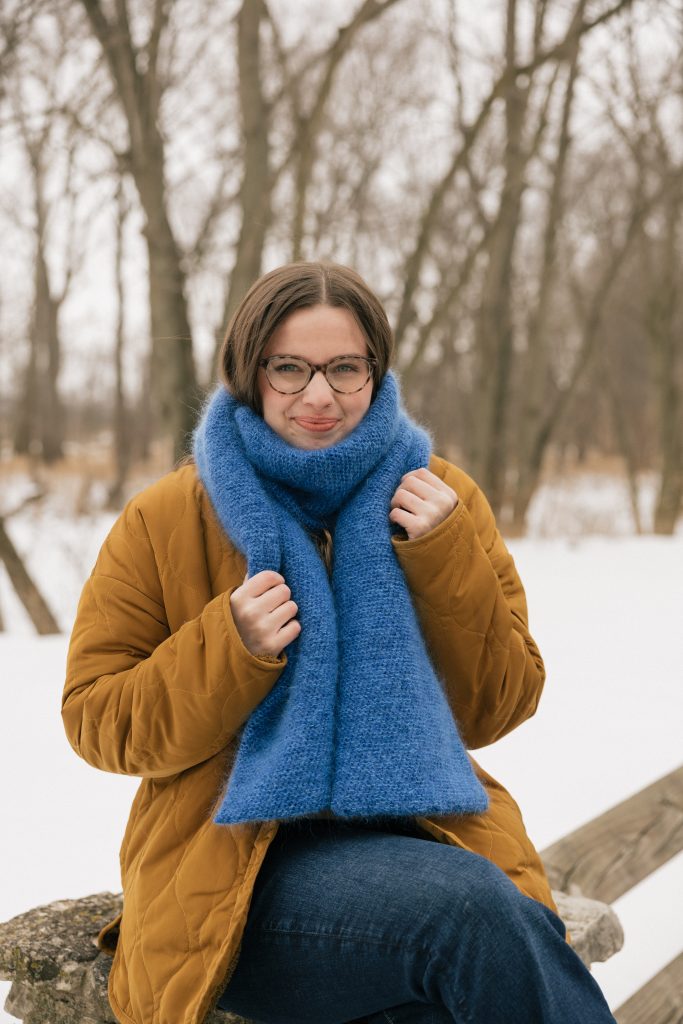
Warm and luxurious, the Pearl Scarf will become a wardrobe staple for blistering winter days. Made with a stitch that looks just like garter stitch, this headband is double thick for maximum warmth. Practical in design and effortlessly chic in style, this free crochet pattern is easy and mindless to crochet.


After designing the Pearl Headband last year, I knew that I needed to add to the collection with an elegantly warm scarf. Designed similarly to the scarf, this scarf is crocheted in the round to create a tubular scarf for extra warmth. This pattern uses a fingering weight yarn and a mohair yarn held double. The wool yarn adds structure to the scarf, while the mohair yarn adds a beautiful halo, to give the scarf a more sophisticated look.
Purchase the Ad-Free PDF
Skill Level: easy
Materials
Yarn
This pattern uses a fingering weight yarn and a mohair silk held together throughout the entire pattern. I used Copenhagen Fibers Merino Light for the fingering weight yarn and Friends Kid Silk for the mohair.
Fingering weight yarn: 1200 yards /234 grams of fingering weight (#1) yarn. 5 skeins of Copenhagen Fibers Merino Light.
Mohair yarn: 1300 yards/148 grams of lace weight mohair. 6 balls of Hobbii’s Friends Kid Silk.
Note: If you don’t want to use suri alpaca, you can use a sport weight or a lightweight DK yarn to achieve the same yarn weight.
Hook
US K/7.00mm crochet hook
Notions
- Tapestry needle
- Tape measure
- Stitch marker
Pattern Notes
- The pattern is worked in US crochet terms.
- The scarf is worked in the round to form a tubular and sewn together.
- The scarf is worked on the wrong side and flipped inside out before seaming.Because the entire scarf is made from slip stitches it is critical to keep your tension very loose. If the slip stitches are worked too tight, they will be almost impossible to work into, and the scarf will take significantly longer to make. The best way to keep your tension consistently looser is to physically hold the crochet hook and yarn looser in your hands. You should be holding onto the hook and yarn just enough to be able to work the stitches, but you should not be gripping onto them.
Gauge
21 rounds of 20 slip stitches worked in the back loop = 4 inches
Measurements
Approximately 76 inches long by 7 inches
The length and width can easily be adjusted. The instructions on how to do so are in the pattern.
abbreviations
St: Stitch
Ch: Chain
Sl st: Slip
Pattern
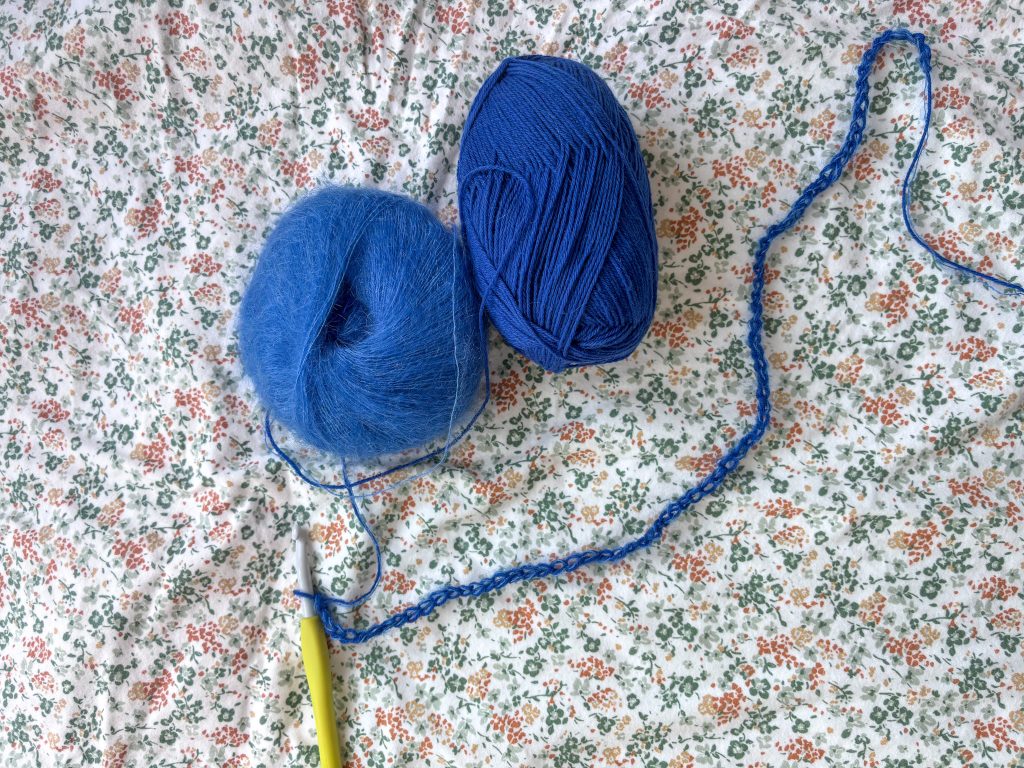
Ch 75. Without twisting the sts, sl st into the first ch
To increase the width add more stitches to your foundation ch.
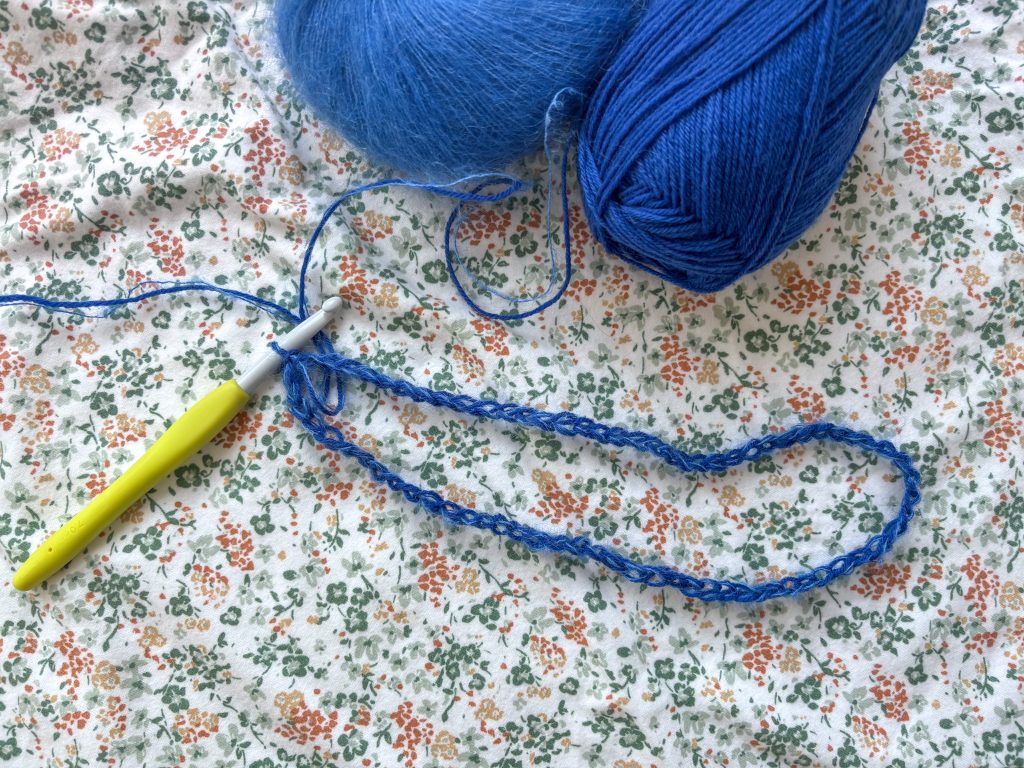
Row 1: 1 sl st into every ch (75 sts)
Remember to keep your tension loose throughout the pattern!
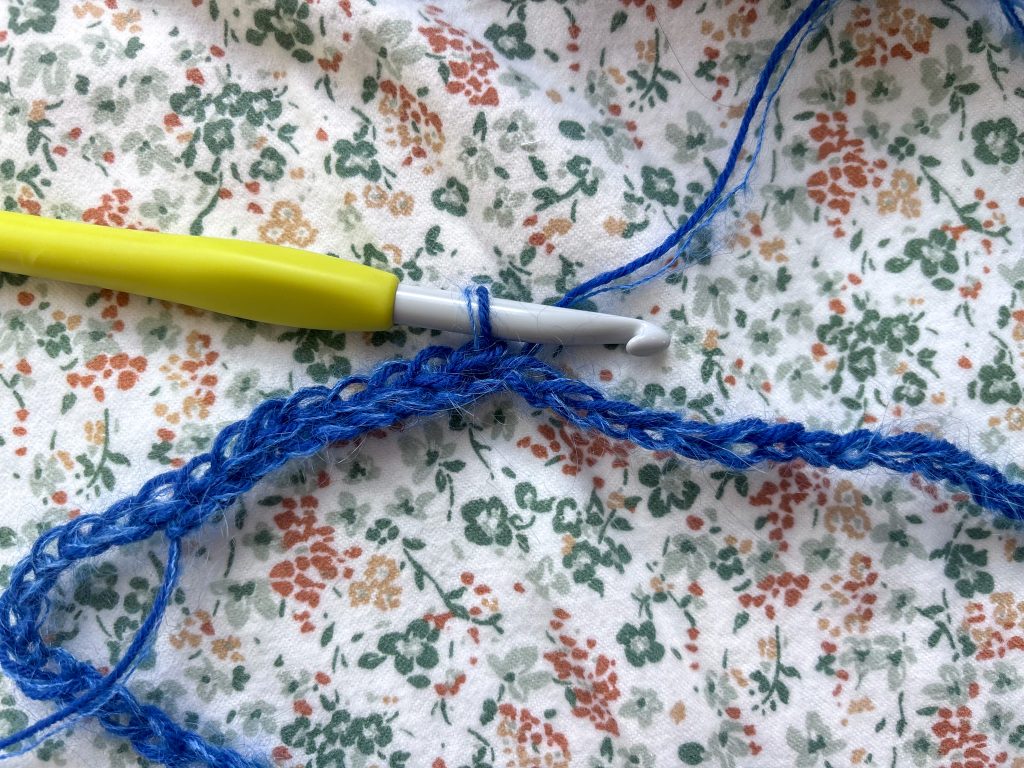
Row 2: 1 sl st into the back loop of every st (75 sts)
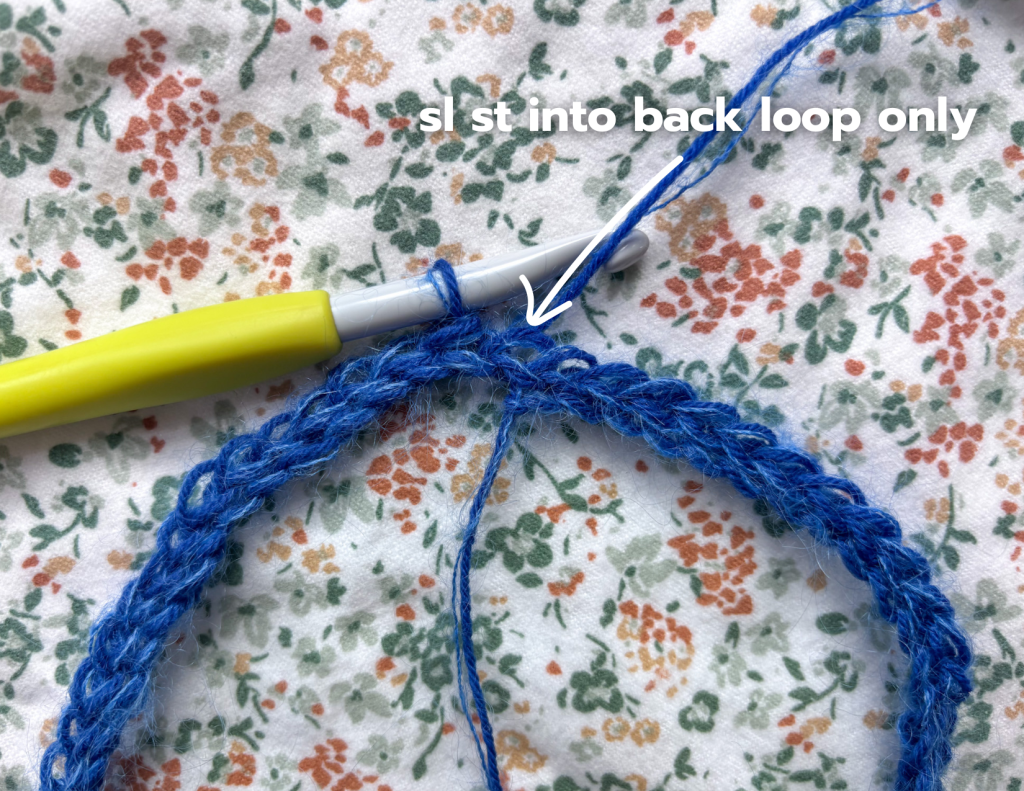
Repeat round 2 until your scarf measures 76 inches or until you have reached your desired length.
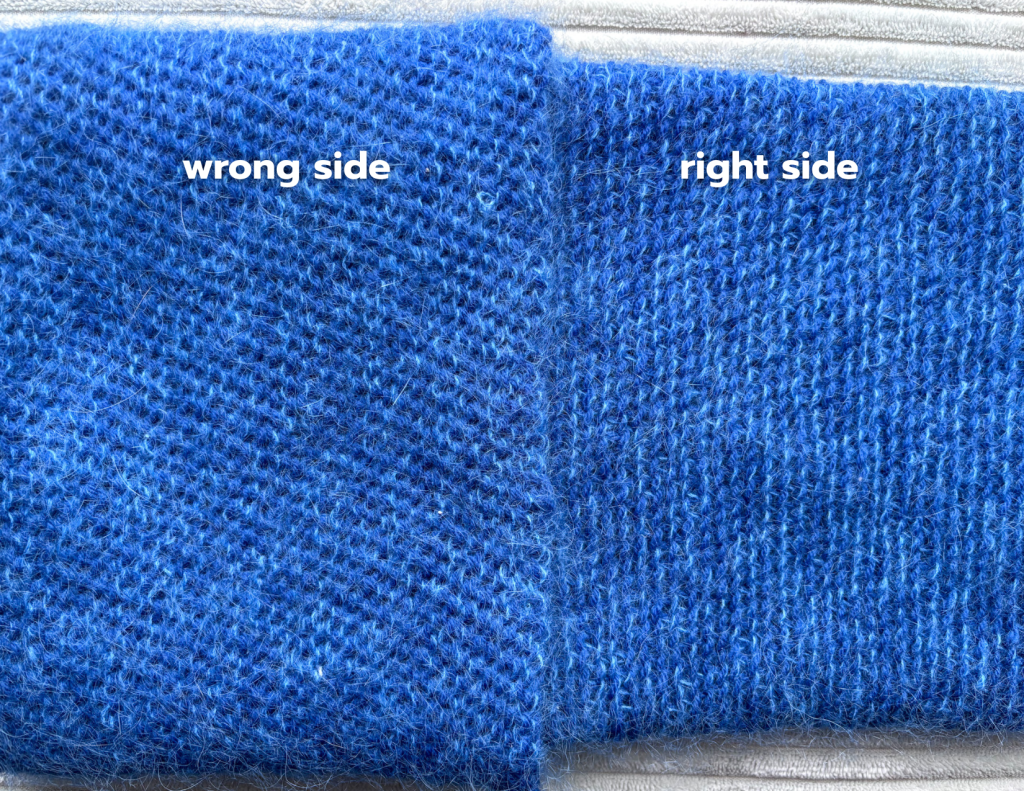
Cut your yarn leaving a 14 inch tail for weaving in ends. Below shows the difference between the right and wrong side. As you can see the “wrong side” (shown on the left) looks just like garter stitch. Feed the tube inside itself to reverse the fabric and make the wrong side the right side.
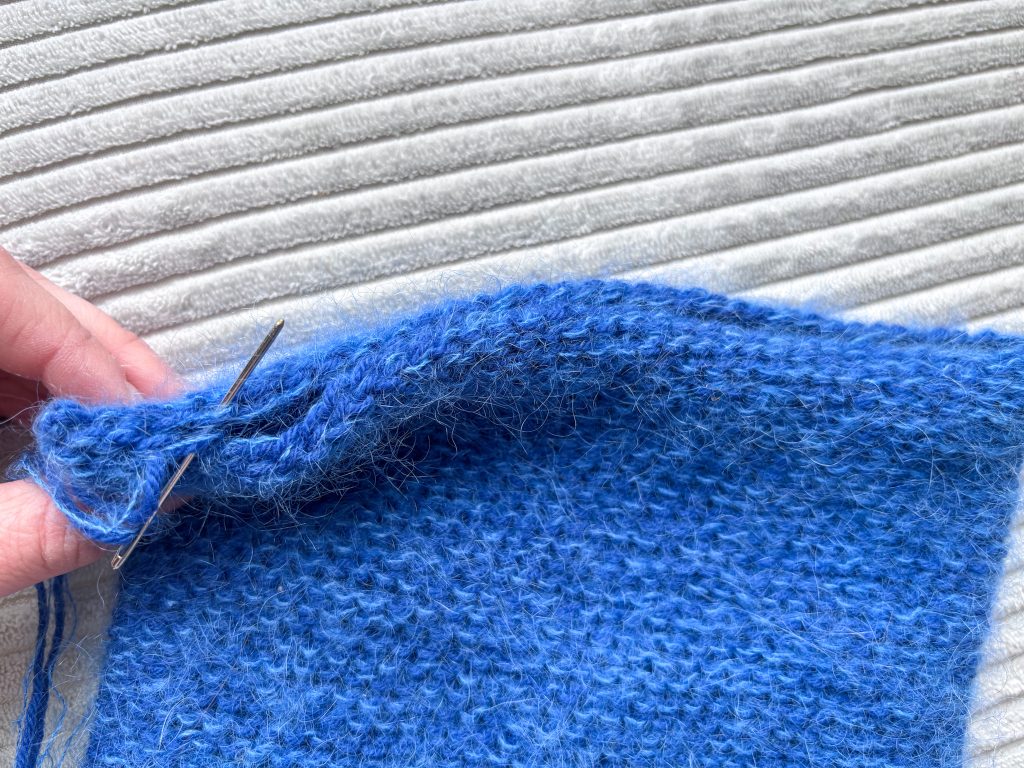
Laying the scarf flat, sew the sides together on one end to enclose the tube. Repeat on the other end. Be mindful to line up the seam on the other end so that if the scarf is laying flat the seams on both ends lay flat.
Weave in loose ends.
I hope you enjoy crocheting the Pearl Scarf! Be sure to tag me on Instagram with your cozy scarf, I would love to see it!
xo, Grace




Leave a Reply